Your First Workflows
File input
Building live workflows with Norsk Studio is simple. Just drag and drop components onto the canvas, connect them, and hit play.
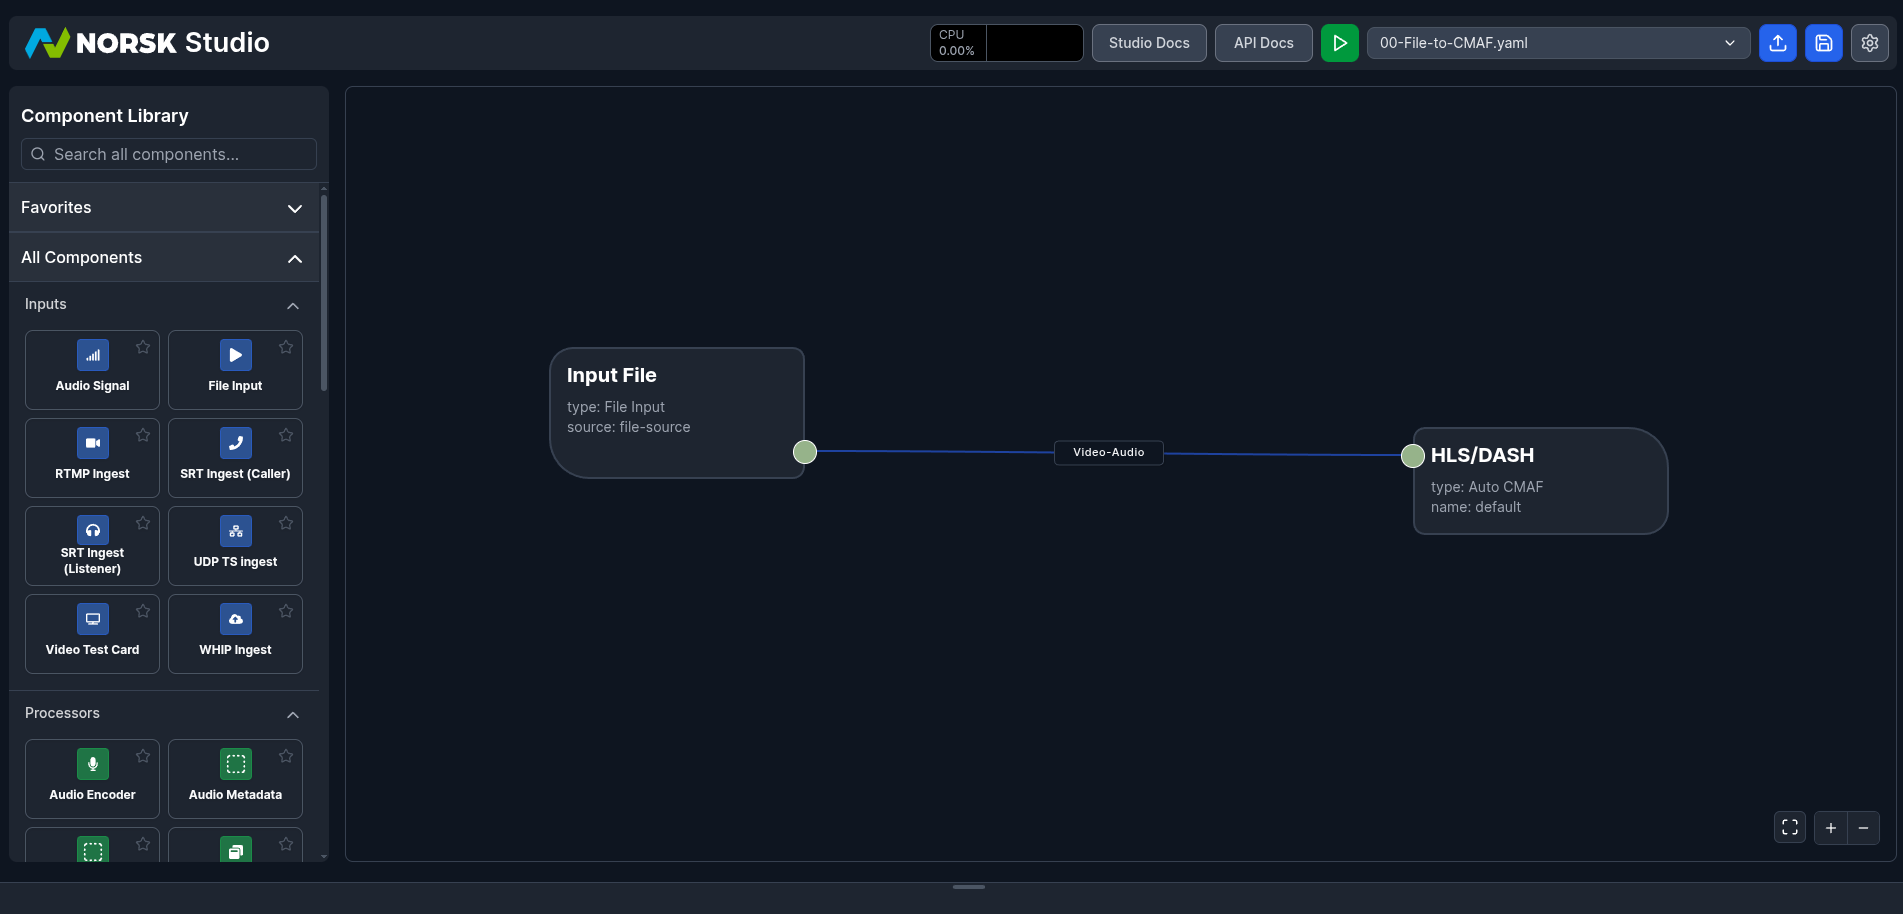
Clicking on the drop-down labelled Blank Workflow should give you several prebuilt workflows. A simple example is 00-File-to-CMAF.yaml. Click on it and you should see a workflow that takes a file input and delivers it as CMAF for playback on HLS/DASH players:
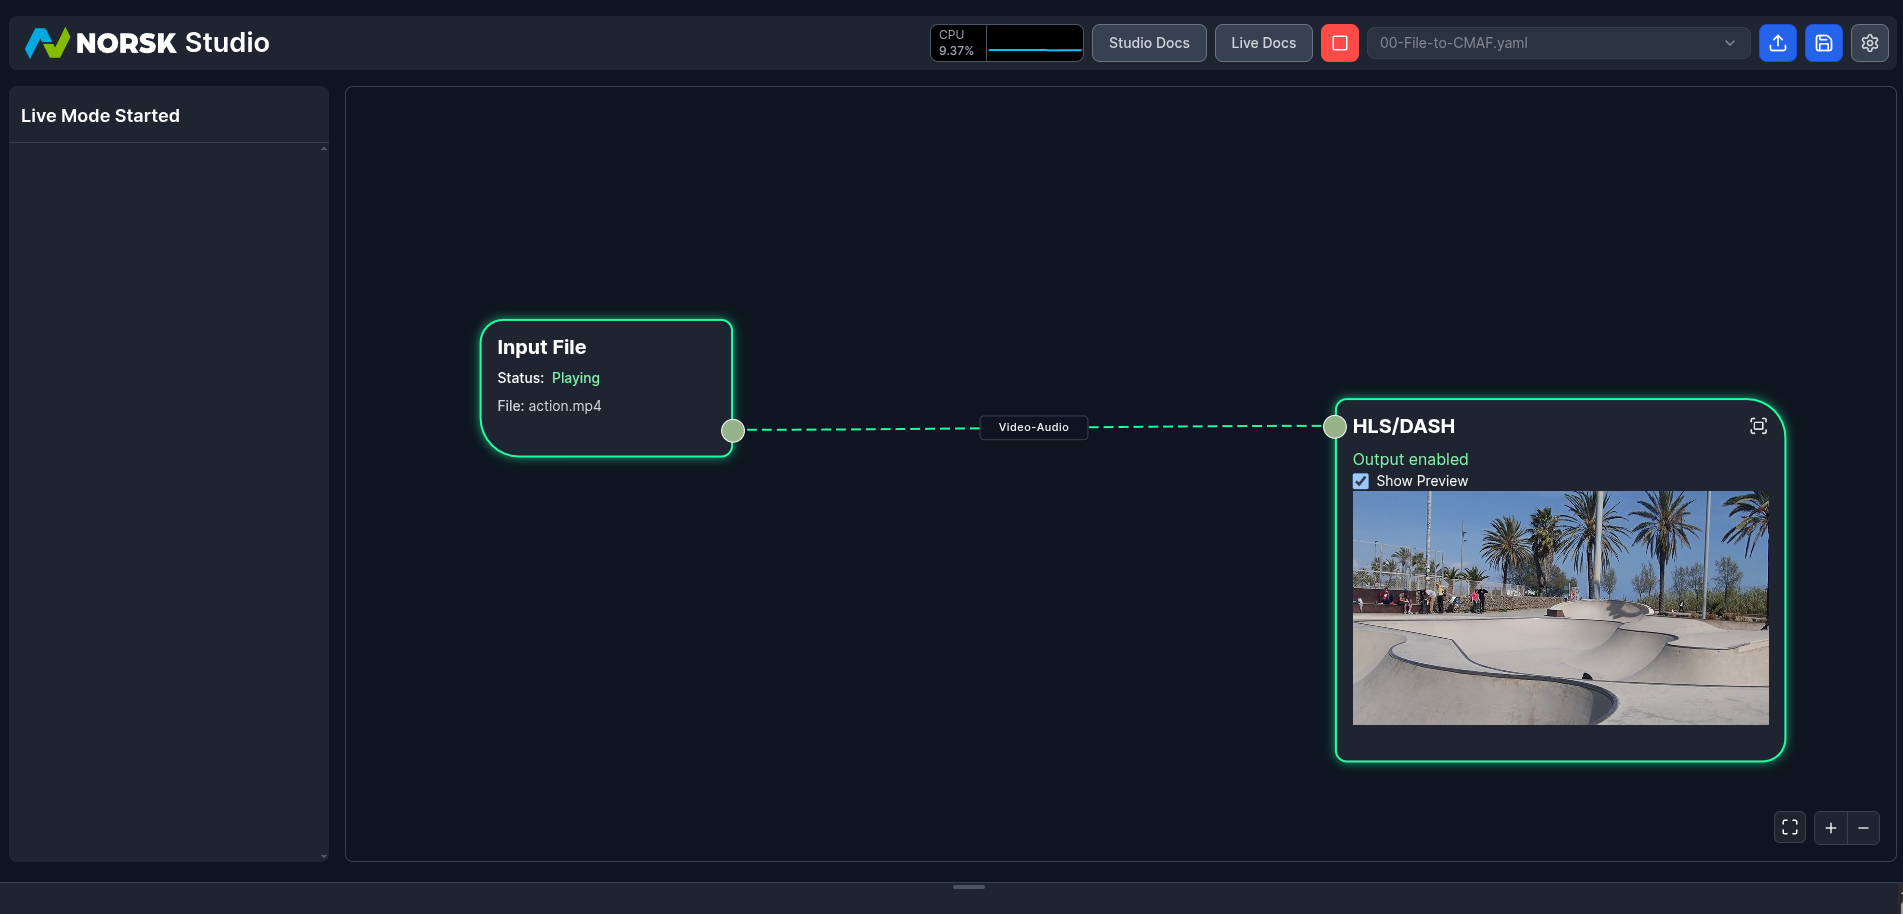
Hit the play button to see the workflow go live and the media file begin to play:
SRT Input and ABR
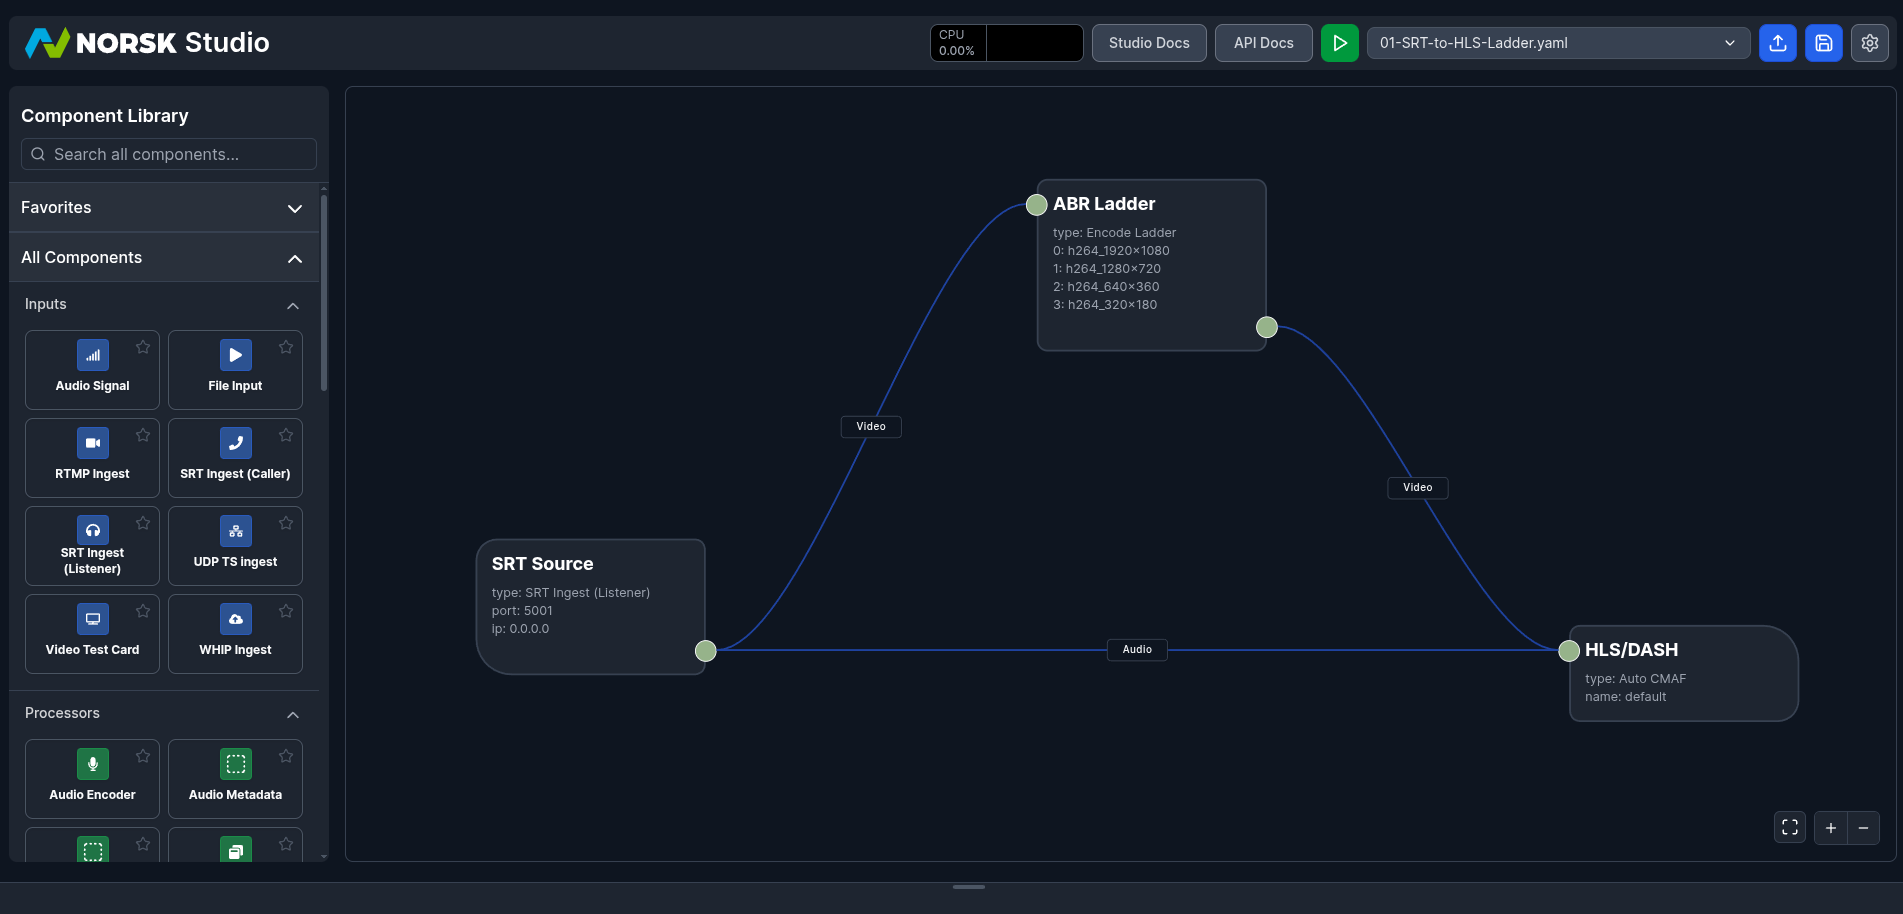
For this second example, we’ll use an SRT source instead of a file input. Since we’re delivering to HLS/DASH, we can also make use of ABR. All you need to do is drag the Encode Ladder component between your input and output, and it will do all of the encoding into different renditions for you. The 01-SRT-to-HLS-Ladder.yaml does exactly that:
Sending a Source to the Listener
If you hit play on the above workflow, you’ll notice that the connector lines turn orange but no data flows through. That’s because we have yet to send a data source to the listening SRT port.
If you are running under Norsk CTL it can provide a sample source for you — no encoder and no media files of your own needed. In the Norsk CTL UI it’s under Developer → Sources; from the command line:
norsk-ctl source start my-studio camera1camera1 and camera2 are the available presets, streaming to the instance’s SRT listener on port 5001 by default. norsk-ctl source list shows what is running and norsk-ctl source stop my-studio camera1 stops it again. See the norsk-ctl source reference for the full set of options.
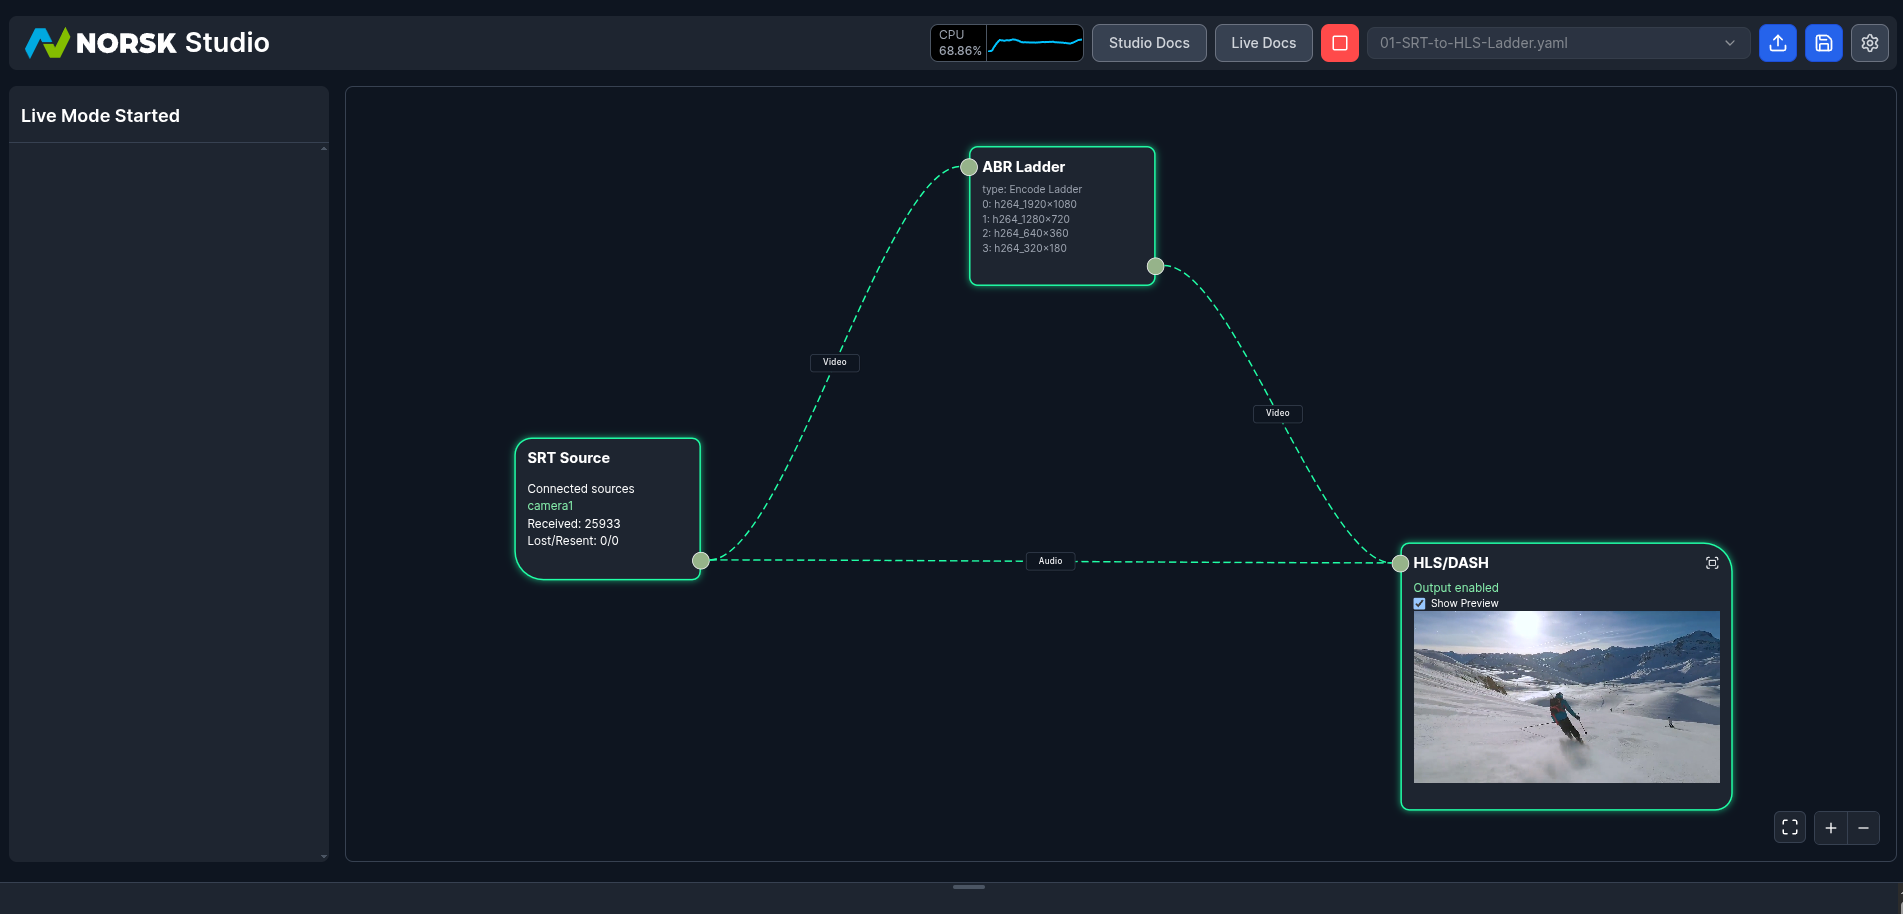
You should now see your workflow go live: